Introduction
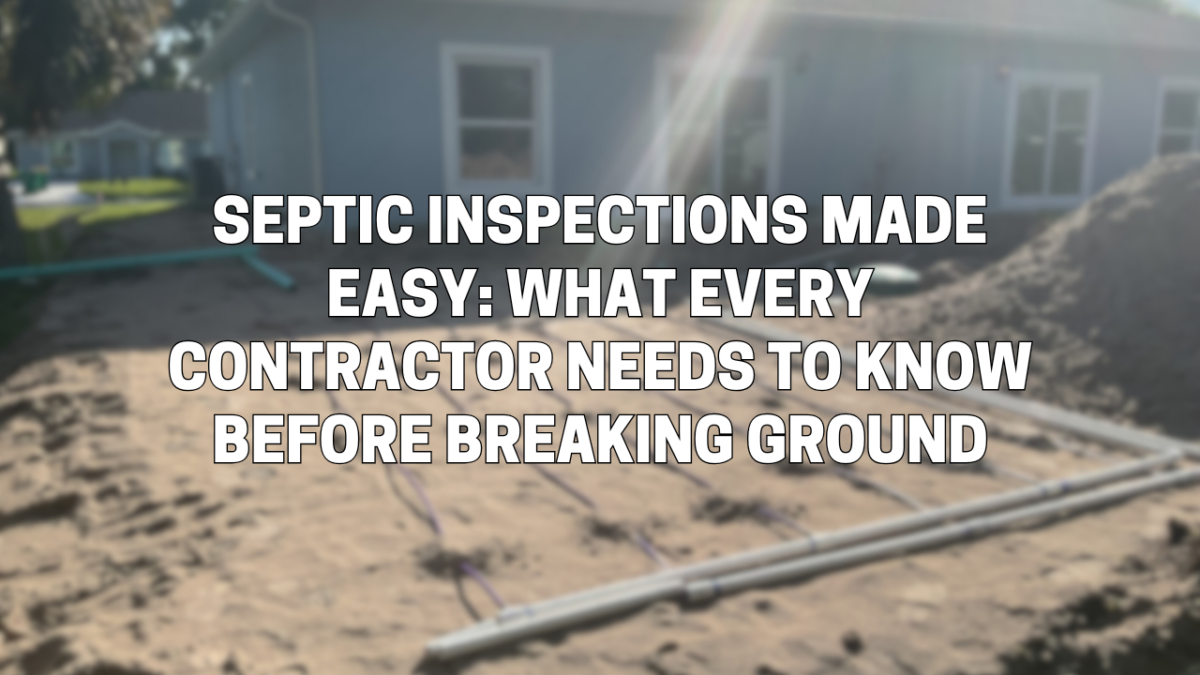
Septic inspections are a critical part of any construction project that involves an onsite wastewater treatment system. Whether you’re installing a new system or replacing an existing one, understanding the inspection process can save time, money, and frustration. In this guide, we’ll break down the step-by-step process for initial and final septic inspections, highlight common red flags that lead to costly rework, and offer tips on streamlining communication and scheduling.
By following these best practices, you can ensure a smooth inspection process and keep your project on track.
Step-by-Step Guide to Septic Inspections
1. Initial Inspection (Pre-Installation Evaluation)
Before breaking ground, contractors must schedule a site evaluation to determine if the property is suitable for a septic system. This includes:
- Soil Testing (Percolation Test) – Determines the soil’s ability to absorb and filter wastewater.
- Site Layout Review – Ensures proper setback distances from wells, property lines, and water bodies.
- Permit Compliance – Confirms that the proposed design meets local and state regulations.
Pro Tip: Conducting an early site assessment with a professional engineer can help identify potential issues before they become costly problems.
2. Mid-Project Inspection (System Components & Installation Check)
Many jurisdictions require an in-progress inspection before covering the septic system. This ensures:
- Tank Placement & Size – The septic tank is correctly sized and positioned according to the approved plan.
- Drain-field Installation – The absorption area is properly prepared with the correct slope, gravel, and pipes.
- Materials Compliance – All components (piping, filters, risers) meet regulatory standards.
Inspectors will check for any errors that could cause system failure, such as poor leveling, improper pipe connections, or insufficient drainage.
3. Final Inspection (Before Covering the System)
Before backfilling, a final inspection ensures the entire system is properly installed and functioning. This includes:
- Leak & Pressure Tests – Checks for leaks in pipes and tanks.
- Flow Testing – Ensures wastewater moves efficiently through the system.
- Final Grading – Confirms the ground is sloped correctly to prevent surface water from entering the system.
Once the system passes the final inspection, it can be backfilled and completed.
Common Inspection Red Flags That Lead to Costly Rework
Contractors can avoid unnecessary delays and expenses by watching for these common red flags:
Improper Slope – Drainfield pipes must have the correct slope for wastewater flow. Too steep or too flat can lead to system failure.
Incorrect Setback Distances – Local codes require specific distances between the septic system, buildings, and water sources. Incorrect placement can result in a failed inspection.
Compacted or Poor Soil Conditions – Over Compacted soil can prevent proper percolation, leading to system inefficiency.
Leaking or Cracked Tanks – Any damage to the septic tank during installation must be repaired before approval.
Missing or Improperly Installed Components – Filters, risers, baffles, and distribution boxes must be installed correctly and meet code requirements.
Pro Tip: Keeping a checklist of inspection requirements can help catch issues before the inspector does.
How to Simplify Communication Between Your Team, Inspectors & Local Authorities
Clear communication is key to passing inspections on the first try. Here’s how to keep everyone on the same page:
Use Digital Project Management Tools – Apps like Procore or Buildertrend can keep records, share inspection dates, and document progress with photos.
Schedule Pre-Inspection Meetings – A quick call or site visit with the inspector before installation can clarify expectations.
Document Everything – Keep detailed records of site evaluations, soil tests, and installation progress.
Assign a Point of Contact – Designate a team member to handle inspector communications and address concerns promptly.
Pro Tip: Work with a trusted engineering firm like Florida Engineering LLC to ensure all documentation and designs are in compliance before scheduling inspections.
Smart Scheduling: How to Prevent Inspection Bottlenecks
Avoiding inspection delays can prevent costly work stoppages. Follow these scheduling best practices:
Plan Ahead – Book inspections well in advance, as local agencies may have long wait times.
Align with Project Phases – Schedule inspections immediately after key installation milestones.
Coordinate with Subcontractors – Ensure plumbers, electricians, and other trades are available to make adjustments if needed.
Be Flexible – Weather, inspector availability, and unforeseen issues can impact scheduling—have contingency plans in place.
Final Thoughts
Mastering the septic inspection process helps contractors avoid costly rework, reduce delays, and maintain compliance. By understanding each inspection phase, watching for red flags, and improving communication, you can keep your projects running smoothly.
For expert septic system design, permitting assistance, and inspection support, Florida Engineering LLC is the preferred choice for contractors. Contact us today to ensure your next project is inspection-ready!
Contact Us – Septic Engineering Near You – Florida’s Top Civil Septic Engineer
- Phone: 941-391-5980
- Email: contact@fleng.com
- Address: 4161 Tamiami Trail, Suite 101, Port Charlotte, FL 33952
Connect With Us
Related Services

